
How to Fix Printer Connection and Printing Problems in Windows If you’re having trouble using your printer and facing issues, don’t worry! We’ve got some simple steps to help you fix common printer problems and get things working again. Step 1: Unplug and Restart Your Printer Sometimes, a quick power cycle can resolve the issue.
How to Fix Printer Connection and Printing Problems in Windows
If you’re having trouble using your printer and facing issues, don’t worry! We’ve got some simple steps to help you fix common printer problems and get things working again.
Step 1: Unplug and Restart Your Printer
Sometimes, a quick power cycle can resolve the issue. Turn off your printer, unplug it, wait for 30 seconds, plug it back in, and then turn it on again.

Image by: https://truegazette.com/
Step 2: Check Cables or Wireless Connection
For wired printers, make sure the USB cable is properly connected from the printer to your PC. If your USB isn’t recognized, see how to automatically diagnose and fix Windows USB problems.
For wireless printers, ensure that the printer’s wireless option is turned on and available. Some printers have a button with a blue wireless icon for this purpose. Check your printer’s instructions or the manufacturer’s website for guidance.

Image by rawpixel.com on Freepik
Step 3: Uninstall and Reinstall Your Printer
If the previous steps didn’t work, try removing and reinstalling the printer.
To remove your printer, go to Settings > Devices > Printers & scanners. Find the printer, select it, and click Remove device.
To reinstall a wireless printer, go to Settings > Devices > Printers & scanners, and click Add a printer or scanner. Choose your printer from the list.
For a local printer, plug the USB cable from your printer into your PC, turn on the printer, and it should be installed automatically.
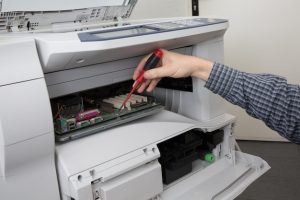
Image by: https://truegazette.com/
Step 4: Install the Latest Printer Driver
Make sure you have the latest driver for your printer installed. Check out our guide on how to download and install the latest printer drivers.
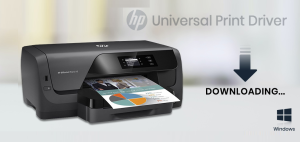
Image by: https://istartsetup.com/hp-universal-print-driver/
Step 5: Clear and Reset the Print Spooler
If the previous steps didn’t work, clearing and resetting the print spooler may help. The print spooler is a file that manages the printing process.
To do this, type “services” in the search box on the taskbar, select Services, find Print Spooler, stop it, and then delete all files in the %WINDIR%\system32\spool\PRINTERS folder. After that, start the Print Spooler service again.
Image by: https://truegazette.com/
Step 6: Change Printer’s Status to “Online”
If your printer shows an “offline” status, troubleshoot offline printer problems to get it back online.
Remember, these steps should help you fix most printer issues. If you’re still having problems, you can seek more advanced help or contact your printer’s manufacturer for support. Happy printing!


Leave a Comment
Your email address will not be published. Required fields are marked with *