
Mastering Google Slides Looping with Ease Have you ever wondered how to create an engaging and never-ending impact on your audience with your Google Slides presentation? Looping your Google Slides can be a powerful way to keep your content continuously flowing, leaving a lasting impression on your viewers. In this guide, we will walk you
Mastering Google Slides Looping with Ease
Have you ever wondered how to create an engaging and never-ending impact on your audience with your Google Slides presentation? Looping your Google Slides can be a powerful way to keep your content continuously flowing, leaving a lasting impression on your viewers. In this guide, we will walk you through the process of looping Google Slides with ease, along with some useful tips and tricks to enhance your looping presentations.
Introduction to Looping Google Slides
looping’s a Google Slides presentation means setting it up to automatically restart once it reaches the last slide, creating a seamless and repetitive display. Whether you’re using Google Slides for a business pitch, a conference presentation, or a digital signage display, looping can be an effective way to maintain your audience’s attention and reinforce your message.

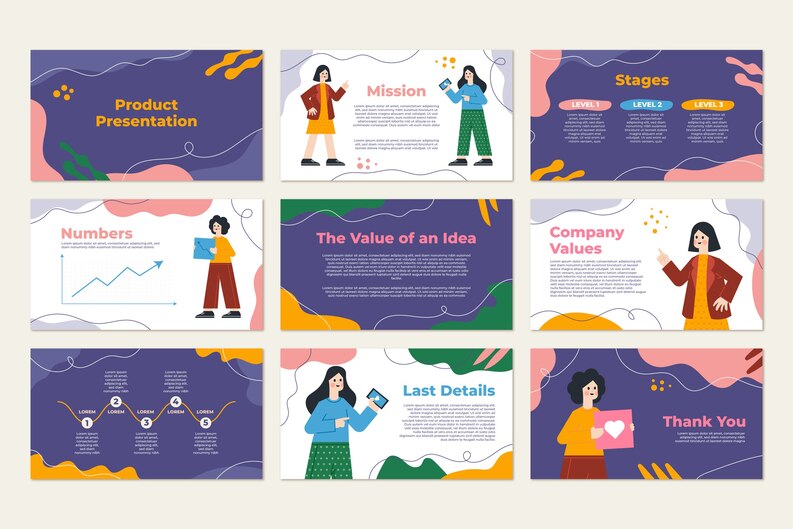
Image by https://truegazette.com/
Step-by-Step Guide to Looping Your Presentation
- Open your Google Slides presentation: To get started, open the Google Slides presentation you want to loop.
- Access the “Set up show” option: Click on the “Present” button and then select “Set up show” from the dropdown menu.
- Choose the loop setting: In the “Set up show” window, choose the “Loop presentation” option to enable looping.
- Adjust other settings (optional): You can also configure other options, such as choosing to loop the presentation until stopped manually or setting up a time interval between each loop cycle.
- Save your settings: Once you have set up the loop, click “OK” to save your settings.
Enhancing Your Looping Presentation
While looping itself can be a valuable technique, there are several ways to enhance your looping Google Slides to make them even more effective:
- Engaging visuals: Use high-quality images, relevant graphics, and appealing colors to captivate your audience visually.
- Concise content: Keep your text brief and to the point. Avoid overwhelming your viewers with too much information on each slide.
- Transitions and animations: Utilize subtle and smooth transitions between slides to maintain a seamless flow.
- Incorporate multimedia: To add depth to your presentation, include videos or audio clips that complement your message.
Tips for Engaging and Professional Looping
- Know your audience: Tailor your looping Google Slides presentation to the preferences and interests of your target viewers.
- Practice makes perfect: Rehearse your presentation with the looping’s feature to ensure a flawless delivery.
- Seek feedback: Before going live, get feedback from colleagues or friends to make necessary improvements.
- Limit the use of text: Minimize the amount of text on each slide to avoid overwhelming your audience with information overload.
Conclusion
Looping’s Google Slides can be an invaluable tool for creating a never-ending impact on your audience. By following the steps outlined in this guide and incorporating engaging content, you can turn your presentation into an unforgettable experience. Remember, practice and preparation are key to delivering a professional and polished looping presentation. So go ahead, captivate your audience, and leave a lasting impression with your seamlessly looped Google Slides!


Leave a Comment
Your email address will not be published. Required fields are marked with *