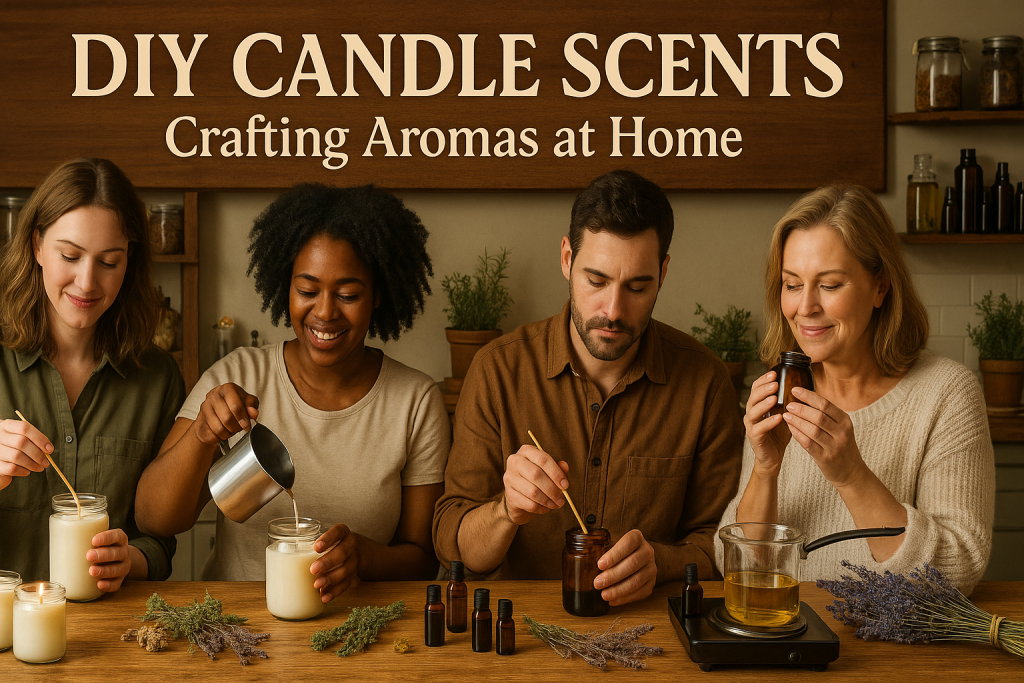
Introduction Making candles at home is fun and relaxing, and with DIY scents, you control the fragrance—mix a cozy vanilla-cinnamon or a fresh citrus-mint blend. Homemade candle brands also make thoughtful gifts. In this article, you’ll learn what DIY candle scents are, which supplies to buy, and how to blend fragrance oils. We include simple
Introduction
Making candles at home is fun and relaxing, and with DIY scents, you control the fragrance—mix a cozy vanilla-cinnamon or a fresh citrus-mint blend. Homemade candle brands also make thoughtful gifts.
In this article, you’ll learn what DIY candle scents are, which supplies to buy, and how to blend fragrance oils. We include simple step-by-step directions and a table of popular scent combinations so you’ll be ready to craft beautiful, warmly scented candles for your home.
What Are DIY Candle Scents?

Image by: Chatgpt.com
DIY candle scents are fragrances you add to candle wax at home fragrance. Instead of buying pre-scented candles, you blend your own oils to create unique aromas matching your mood.
Scents include essential oils (lavender, peppermint, eucalyptus) and lab-made fragrance oils (baked cookies, ocean breeze, fresh linen), along with blended mixes.
You combine oils in different ratios—jasmine with sandalwood for a floral-woody scent, or lemon with basil for a bright, herbal aroma. The choice is yours.
Essential Candle Making Supplies
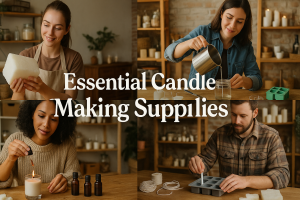
Image by: Chatgpt.com
Before you start DIY candle scents, gather the right candle making supplies:
- Wax: Soy wax is popular for beginners. It burns cleanly and holds scents well. You can also use coconut wax, beeswax or paraffin wax.
- Wicks: Choose the right size. Thin wicks work for small jars. Thicker wicks are for larger containers. Always use wicks with a cotton or wood core to avoid toxic fumes.
- Containers: Glass jars, tins, or ceramic vessels work well. Make sure they are heat-safe and clean.
- Digital Thermometer: Wax needs to melt and cool at specific temperatures. A thermometer helps you measure accurately.
- Double Boiler or Wax Melter: Use a double boiler on the stove or an electric wax melter. Do not melt wax directly on a burner.
- Fragrance Oils and Essential Oils: Buy high-quality, skin-safe oils. Check that they are suitable for candle maker.
- Stirring Utensils: Use a heat-safe spoon or wooden stick for mixing wax and oils.
- Labels and Markers: Label your candle’s name and date. Write down scent blends for future reference.
- Scale: A small kitchen scale helps measure wax and stronger scents precisely.
Gather these items before you begin. Having everything on hand makes the process smooth and enjoyable.
Step-by-Step Candle Making Process

Image by: Chatgpt.com
Now that you have supplies and a favorite scent blend, follow these steps for homemade jar candles:
- Prepare Your Workspace: Cover your table with newspaper or a silicone mat. Heat wax can drip and make a mess. Keep all supplies handy.
- Measure Wax: Weigh wax on a digital scale. For two 8-ounce jars, use about 1 pound of wax. Cut wax into small pieces for faster melting.
- Melt Wax: Fill the bottom pot of a double boiler with water. Heat water to a gentle simmer. Place wax in the top pot. Stir with a heat-safe spoon as it wax melts. Aim for 170°F–180°F.
- Check Temperature: Use a thermometer to monitor wax. When it reaches 180°F, turn off heat. Let wax cool to 150°F–155°F.
- Add Fragrance Oils: Measure your amount of fragrance blended oils. Add to melted wax at 150°F–155°F. Stir gently for 2 minutes. This helps oils disperse evenly.
- Secure Wicks: While wax cools, attach wicks to container bottoms. Use a drop of hot glue or wick stickers. Center the wick with a pencil or wick bar laid across the jar top.
- Pour Wax: Pour scented wax into containers slowly. Leave 1/4 inch space at top. If wax sets too quickly, gently warm again to 145°F.
- Hold Wicks Straight: Center wicks before wax hardens. Wrap the top around a pencil to keep straight.
- Let Candles Set: Allow candles to cool for 24 hours at room temperature. Avoid moving them until fully hardened.
- Trim Wicks: After candles fully set, trim wicks to 1/4 inch. This helps candles burn time cleanly.
- Cure Candles: Let candles cure for 48 hours before burning. This allows fragrance to bind with wax fully.
Following these steps helps you make neat, long-lasting candles with strong scent throw.
Comparative Table: Popular Scent Combinations
| Scent Name | Base Note | Heart Note | Top Note | Description |
|---|---|---|---|---|
| Cozy Vanilla Spice | Vanilla | Cinnamon | Clove | Warm, sweet, and perfect for fall or winter |
| Citrus Breeze | Grapefruit | Orange Blossom | Lemon Zest | Bright, fresh, and awakening |
| Lavender Calm | Sandalwood | Lavender | Bergamot | Relaxing, stress-relief, ideal for bedtime |
| Forest Retreat | Cedarwood | Pine | Eucalyptus | Earthy, woodsy, reminiscent of a forest walk |
| Minty Fresh | Peppermint | Spearmint | Lime | Cool, refreshing, great for work or study spaces |
| Tropical Escape | Coconut | Mango | Pineapple | Sweet, exotic, transports you to a beach setting |
| Herbal Morning | Chamomile | Rosemary | Lemon | Light, herbal, great for an energy boost |
| Coffee Comfort | Coffee | Caramel | Chocolate | Rich, cozy, perfect for living areas or reading nooks |
Conclusion
Making DIY candle scents at home is an enjoyable way to fill your space with custom scents or fragrances. By choosing high quality fragrance oils and following simple steps, you can craft candles that smell extraordinary and burn cleanly. Remember to measure ingredients accurately, mix well, and let candles cure properly. Use our table of scent or fragrance blending ideas to spark creativity. With practice and experimentation, you’ll master crafting aromas at home. Enjoy the process, and share your scented creations with friends and family for special, heartfelt gifts.