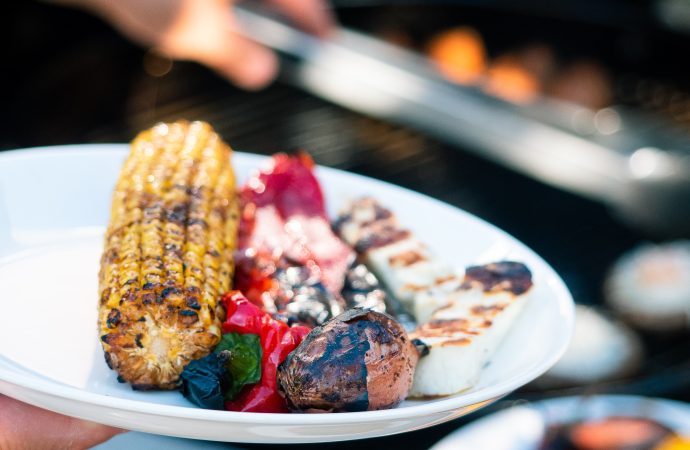
As the weather heats up and barbecues start firing up, there’s one side dish that reigns supreme: grilled corn on the cob. This classic summer treat is easy to make and always a crowd-pleaser. But if you’re looking to take your corn grilling game to the next level, here’s a step-by-step guide to achieving perfectly
As the weather heats up and barbecues start firing up, there’s one side dish that reigns supreme: grilled corn on the cob. This classic summer treat is easy to make and always a crowd-pleaser. But if you’re looking to take your corn grilling game to the next level, here’s a step-by-step guide to achieving perfectly grilled corn on the cob every time.
Step 1: Choose Your Corn The first step to grilling perfect corn on the cob is to choose the right ears. Look for fresh, young corn with bright green husks and tight, moist kernels. Avoid corn with dry, yellowed husks or kernels that feel tough and starchy when you press them.
Step 2: Prep Your Corn Before you start grilling, peel back the husks and remove the silk from each ear of corn. Then, carefully fold the husks back up to cover the corn. Soak the corn in cold water for at least 30 minutes. This will help the husks steam the corn and prevent them from burning.
Step 3: Preheat Your Grill Preheat your grill to medium-high heat. You want a temperature of around 400-450 degrees Fahrenheit.
Step 4: Grill Your Corn Once your grill is preheated, place the corn on the cob on the grill grates. Close the lid and cook for 15-20 minutes, turning the corn occasionally. When the husks are charred and the kernels are tender, your corn is ready to be pulled off the grill.
Step 5: Season Your Corn After you’ve pulled your corn off the grill, peel back the husks and brush the kernels with melted butter. Then, season with salt and pepper to taste. If you’re feeling adventurous, try adding other spices like smoked paprika or chili powder for a little extra kick.
Step 6: Serve and Enjoy Now that your corn on the cob is perfectly grilled and seasoned, it’s time to dig in. Serve it up hot with your favorite summer dishes like grilled chicken, burgers, or a fresh summer salad.
Grilled corn on the cob is a summer classic for a reason. It’s easy to make, delicious, and perfect for outdoor gatherings. With this step-by-step guide, you’ll be grilling up perfect corn on the cob all season long. So fire up the grill, grab some fresh corn, and get ready to enjoy the taste of summer.


Leave a Comment
Your email address will not be published. Required fields are marked with *